
Continuing with our (intermittent) series on roof garden design. I have tried to splice these between blogs on other subjects so that people don’t get too bored, but they are packed with detail so do have a read if you are new to this area of design!
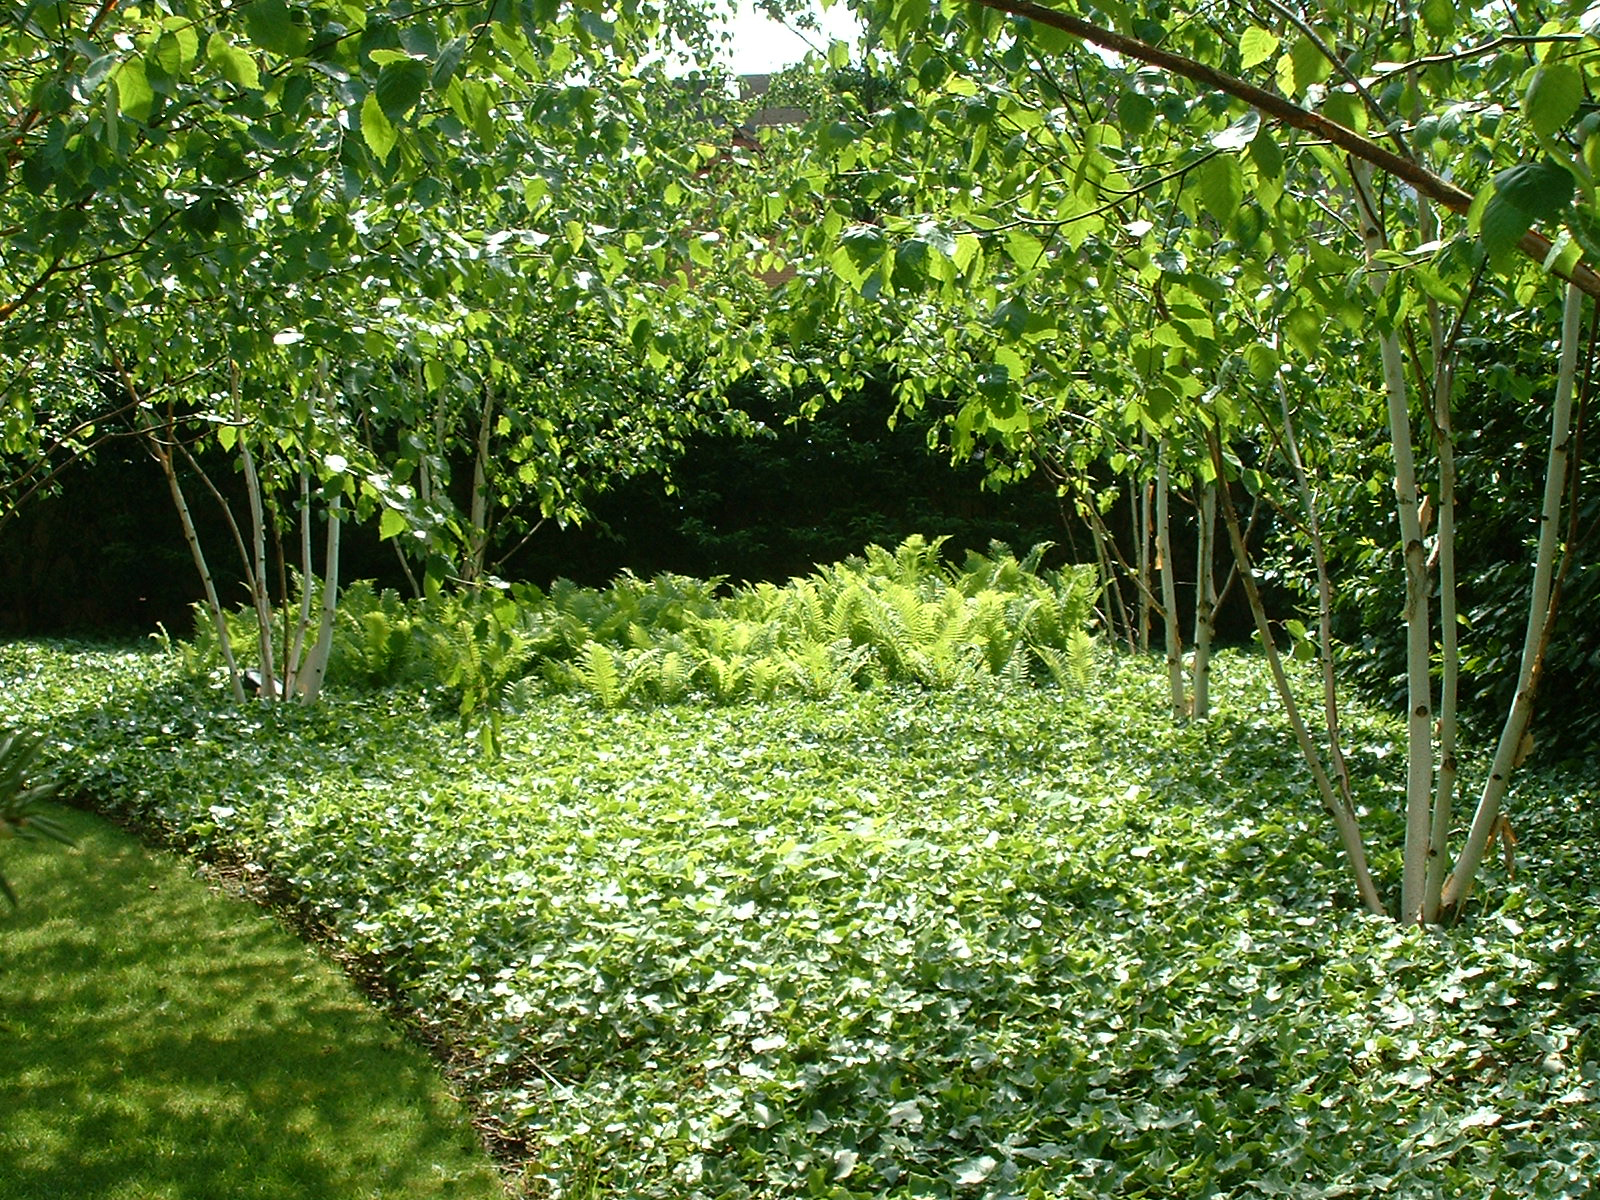
Part of an irrigated roof garden in St Johns Wood, London
The centrality of water to plant growth is something that it is often easy to forget in the mild temperate climate of the UK. Unlike some parts of the world water falls abundantly from the sky over much of the country, most of the time. Temperatures in the UK also rarely exceed 30oC, which means that evapotranspiration is not a major problem. However, on roof terraces the combination of increase exposure and lack of access to groundwater means that plants frequently risk drought. There are some ‘green roofs’ that can survive without irrigation and we will return to these in later posts, but for the most part irrigation is virtually essential. Irrigation systems on roof terraces fall into two basic types. There are the larger, more complex systems with a supply tank and control panel, and the simpler ‘temporary’ systems, which run from a tap, normally with a small battery-powered

A typical tap-timer irrigation set up
timer.These are cheaper and easier to install (often by a landscaper), but have the disadvantage that there is a limited amount of planters that the network will supply, even if subdivided into zones. For smaller terraces however, they are usually sufficient. It is advisable to have a manifold so as to retain a tap for washing down the paving or hand watering of odd containers. In all cases (larger and smaller schemes), it is best to run the irrigation pipes beneath the paving or decking and come up through the base of the container rather than looping up over the side. We normally specify a hole to be core-drilled in the paving to allow drainage and access for irrigation pipes without crushing; the only disadvantage of this is that it limits the scope for moving the containers in the future. However, in some ways this is a good thing as it means that designed loads to the roof cannot be easily exceeded.
 For larger irrigation networks, it would be wise to seek the advice of an expert. Most of these bigger systems will run from a tank (generally situated in the building’s plant room) with a pump set and a series of solenoid controlled valves opening and closing different zones. This means that the whole irrigation system is split up into zones on a geographic basis, which run in sequence. This has several advantages: firstly it allows fine-tuning of the individual zones to water demand according to local microclimate – sunnier zones might need more water for example. Secondly, it allows individual zones to be drained for repair or maintenance. Finally, and perhaps most importantly, it reduces the amount of water demand at any one time. The advantage of this is that both the tank and the pump size can be reduced, as can the inflow – the relationship between the in and outflow is obviously the main determinant for the tank size. There are also systems which can run from a central ‘landlord’ tank with a series of ‘planetary’ sub-systems which can be either under local or central control – useful for apartment or office buildings with multiple large roof terraces.
All that water then needs to go somewhere – drainage is an important issue on roof gardens where the entire substrate is usually a concrete slab. On smaller terraces it is not such a big issue, as the roof usually drains beneath the deck or paving to a gully and downpipe at one side – you just need to allow for inspection access. I know from experience on my own roof terrace in London a few years ago that it is surprising the amount of debris that can build up underneath the decking. With that in mind it is best to either use a pedestal system or if using decking, build in some easy-access panels over key drainage positions.
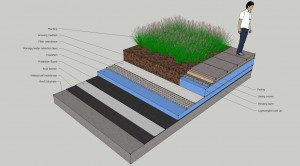
Sketch showing the different layers of build-up on a typical intensive roof.
On larger roof gardens, it is not uncommon to drain through the slab to suspended drainage systems below, although architects generally try and avoid this where they can. However, the limiting factor is the size of the roof – or more precisely, the distance from the centre to the edge. There has to be a reasonable fall for below deck drainage to work well and over large distances this can become prohibitive. Where you are intending green build-up – lawns or larger planting beds for example – it is vital to make sure that the media used are free draining to allow water to move freely to the outlets. For extensive or semi-extensive green roofs, a drainage board (‘egg-crate’) is often specified. This allows an element of storage, particularly where the growing medium is thin due to weight or other restrictions. The growing mediums used with these drainage boards are different from other media – see the (upcoming) post on green roofs for more detail. Small intensive roofs tend to use containers. Aside from the soft areas, water will also need to be drained form the paving. Using pedestals, this will happen at deck level. There are also gullies which allow drainage water to be collected at both paving level and slab level. These are particularly useful in wet-laid paved areas where most of the water needs to be taken from the surface, but inevitably some will find its way down to the slab.
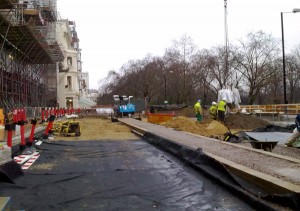
Washed sand and rootzone mix being installed over a roof slab at the Lancasters. You can also see in the centre how the path is built up separately in blockwork and type 3.
For larger intensive roofs the issues and solutions are different. Fifteen years ago we constructed a roof terrace using standard topsoil in layers up to 800mm thick. Within three years the profile was showing signs of poor drainage and soon we saw water in evidence at the base of the inspection tubes we had built into the scheme. As a result of this, on deeper build-ups (intensive gardens) we now use layers of graded washed sharp sand followed by sand-dominated rootzone mixtures. This allows a robust, free-draining growing medium that remains well aerated and maintains its structure. It also encourages deeper rooting ensuring that plants are less reliant on irrigation and more on water stored in the deeper layers of the build-up.
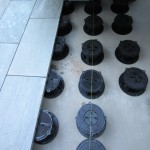 Where paving is required on intensive (or extensive) roofs, there are a number of solutions. First is to lay the paving traditionally on crushed stone and mortar bedding. Additionally, we quite often specify hidden block work walls beneath the edges of the paving. The advantages of this are threefold – it separates the hard and soft landscape build-ups, it supports the edge of the paving firmly. It can also create a handy void in which to run services. However, the more normal method is to lay the paving on pedestals. These are plastic discs which are supported on a cylinder and base. they raise the paving up to a given level – anything up to 900mm. They have many advantages, not least that they allow the water to drain freely beneath them, with easy access in the event of any future problems. They also mean that paving can be laid absolutely level.
The next two blogs in this intermittent series will look at planting on intensive and extensive roofs. The extensive one will be written by a guest writer, Maggie Fennell of GreenSky, so look out for that one. The intensive one will be by Bowles & Wyer’s very own planting specialist, Stuart Wallace.
As usual, drop in any questions below and I will get back to you.
October 22, 2015